
19, May 2024
Crafting A 2026 Calendar In Microsoft Word: A Comprehensive Guide
Crafting a 2026 Calendar in Microsoft Word: A Comprehensive Guide
Related Articles: Crafting a 2026 Calendar in Microsoft Word: A Comprehensive Guide
Introduction
With great pleasure, we will explore the intriguing topic related to Crafting a 2026 Calendar in Microsoft Word: A Comprehensive Guide. Let’s weave interesting information and offer fresh perspectives to the readers.
Table of Content
Crafting a 2026 Calendar in Microsoft Word: A Comprehensive Guide
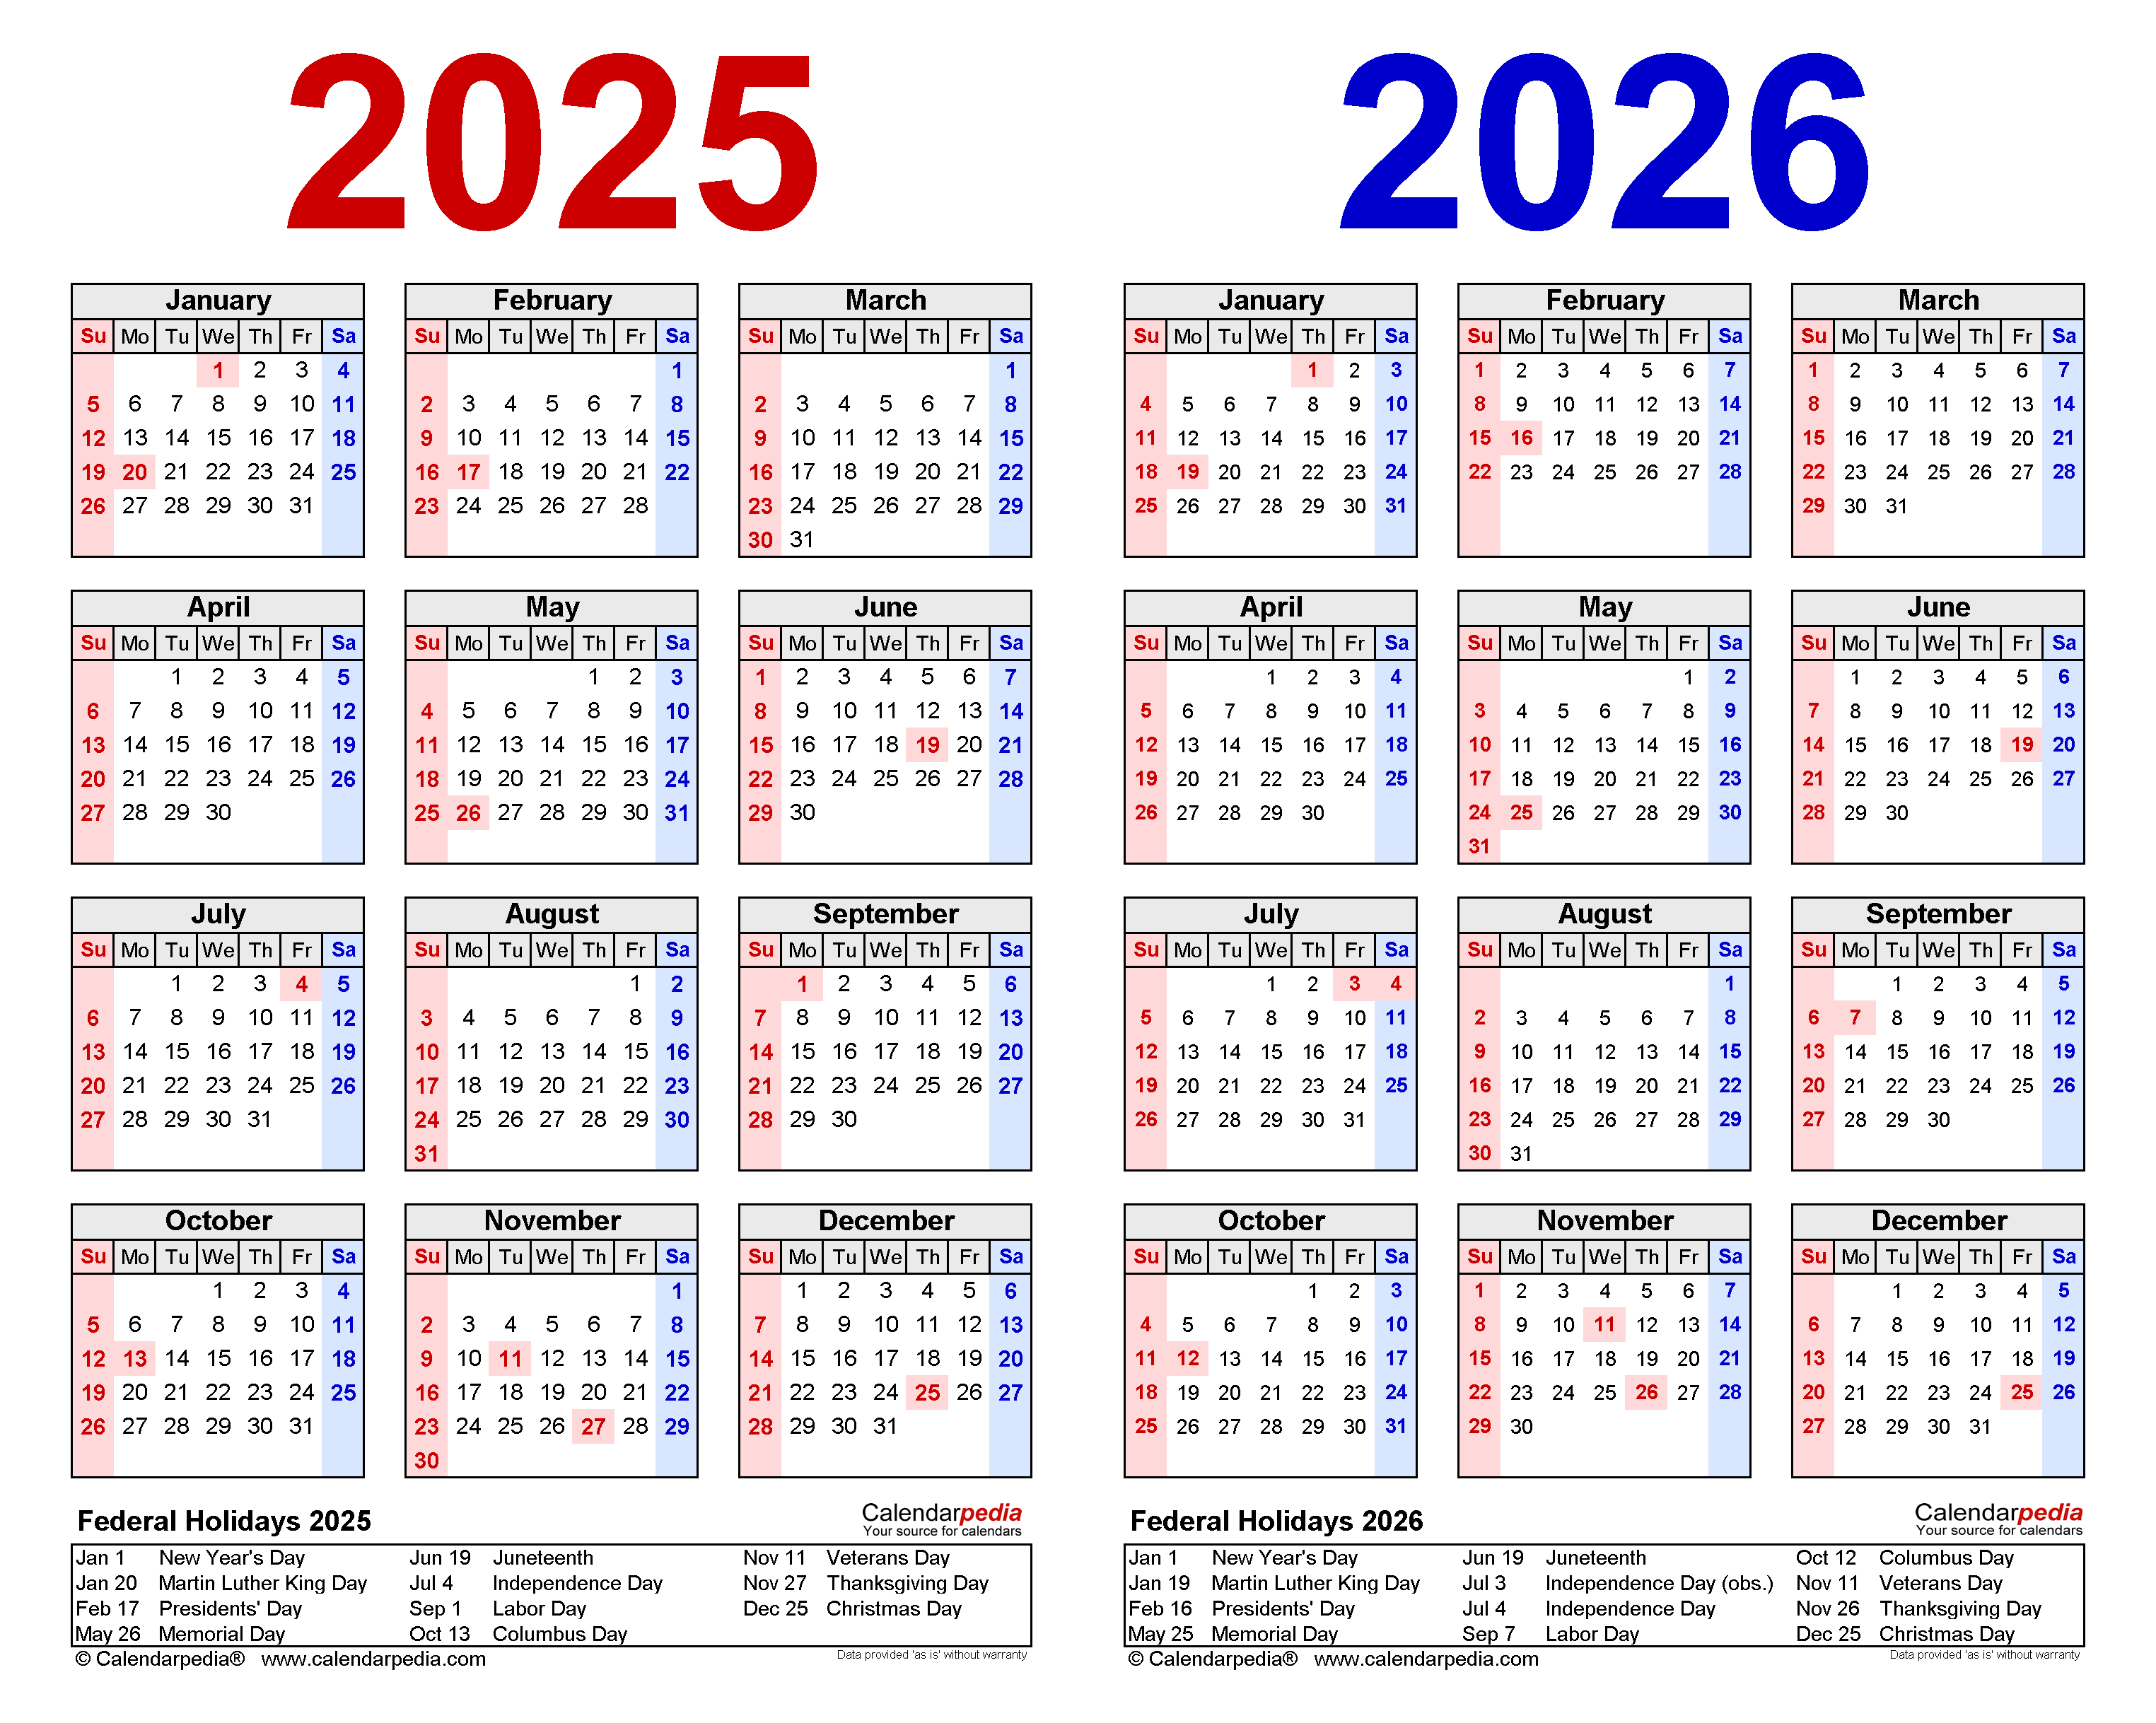
Creating a 2026 calendar in Microsoft Word offers a versatile and customizable solution for organizing and managing your year. Whether you need a personal planner, a shared team calendar, or a visually appealing document for professional purposes, this guide provides a comprehensive breakdown of the process, highlighting key features and techniques for optimal results.
Understanding the Fundamentals
Before diving into the specifics, it is crucial to understand the foundation of calendar creation in Word. The process involves utilizing tables, text formatting, and various tools to structure and personalize your calendar. The beauty lies in the flexibility; you can tailor the design, layout, and content to perfectly suit your needs.
Step-by-Step Guide to Creating a 2026 Calendar
-
Open a New Document: Begin by launching Microsoft Word and creating a new blank document.
-
Insert a Table: Navigate to the "Insert" tab and select "Table." Choose the appropriate number of columns and rows to represent the days of the week and the weeks in a month. For a standard calendar, a 7×5 table would be suitable (7 days of the week and 5 weeks in a month).
-
Customize Table Properties: Right-click on the table and choose "Table Properties." Here, you can adjust the table’s width, height, borders, and cell spacing.
-
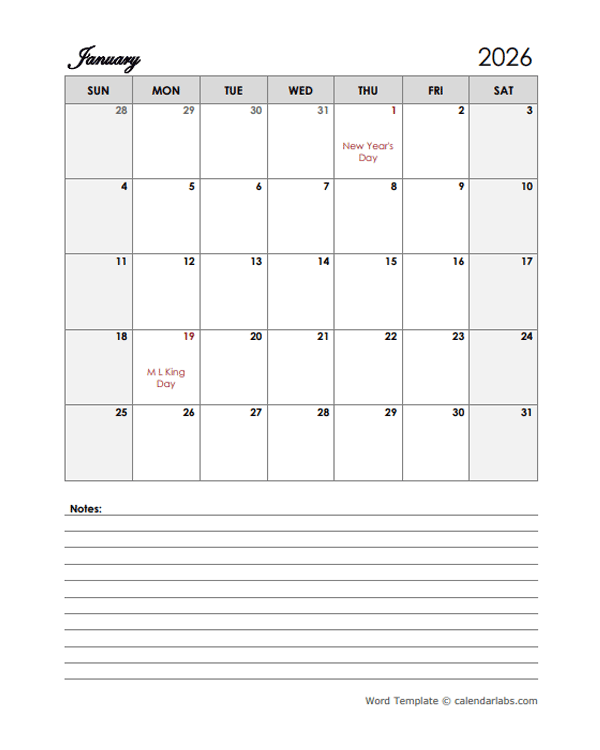
Add Month and Year Headers: In the first row of your table, type the name of the month and the year (e.g., "January 2026"). You can center the text and apply bold formatting for visual emphasis.
-
Populate Days of the Week: In the first column of the table, enter the days of the week (Sunday through Saturday). You can center the text and use a smaller font size to differentiate them from the date entries.
-
Insert Dates: Starting from the second row, enter the corresponding dates for each day of the week. For example, if January 1st, 2026, falls on a Thursday, you would enter "1" in the Thursday column of the second row. Continue filling in the dates for the entire month.
-
Format Cells and Text: Utilize Word’s formatting options to enhance the visual appeal of your calendar. You can:
- Change Font: Select different font styles, sizes, and colors to create visual distinction.
- Apply Bold or Italic: Emphasize specific dates or events by applying bold or italic formatting.
- Add Shading: Use subtle shading to highlight weekends, holidays, or important dates.
- Insert Borders: Adjust the borders of cells to create a more defined and organized look.
-
Add Event Entries: There are several ways to add event entries:
- Directly in Cells: Type the event details directly into the corresponding date cells.
- Insert Text Boxes: Utilize text boxes to create separate areas for events, allowing for more detailed descriptions.
- Insert Shapes: Add shapes like rectangles or circles to represent events, allowing for color coding and visual cues.
-
Customize the Layout: Explore different layout options to create a visually appealing and functional calendar:
- Landscape Orientation: Rotate the table to landscape orientation for a wider view.
- Page Breaks: Insert page breaks to separate months and create a multi-page calendar.
- Add Images: Include relevant images or graphics to enhance the visual appeal.
-
Save and Print: Once you are satisfied with your calendar, save it in a suitable format (Word document, PDF, etc.) for easy access and printing.
Enhancing Functionality and Design
1. Utilize Templates: Microsoft Word offers pre-designed calendar templates that provide a starting point for your creation. Explore the available options and customize them to suit your needs.
2. Add Color Coding: Utilize different colors for events, appointments, and tasks. This visual distinction can help with quick identification and organization.
3. Incorporate Hyperlinks: Insert hyperlinks to relevant websites, documents, or email addresses for easy access to related information.
4. Include Notes and Reminders: Utilize text boxes or notes sections to add additional information, reminders, or important details.
5. Explore Advanced Features: For more complex calendar needs, consider using advanced features like:
* **Macros:** Automate repetitive tasks like adding dates or formatting cells.
* **Fields:** Use fields to automatically update information like the current date or time.
* **Content Control:** Control the content and formatting of specific sections of your calendar.
FAQs about Creating a 2026 Calendar in Word
Q: Can I use a pre-designed calendar template?
A: Yes, Microsoft Word offers various pre-designed calendar templates that you can customize. Access these templates by searching for "calendar" in the "New" menu.
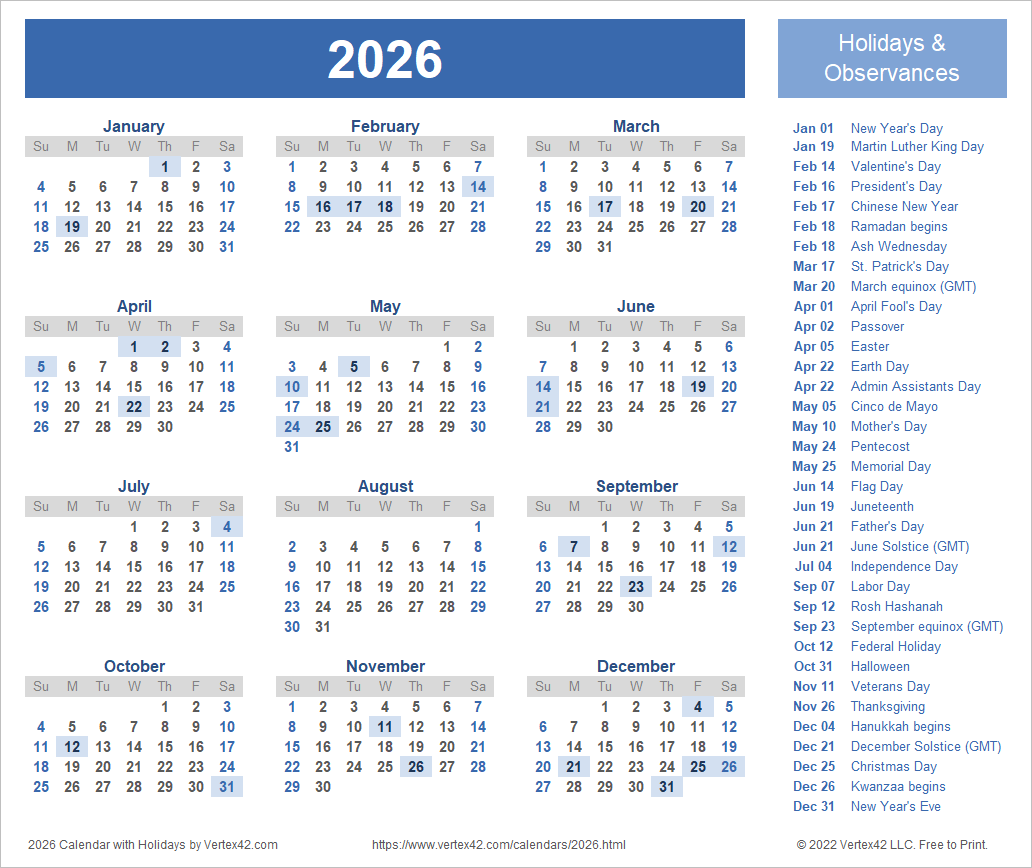
Q: How do I add holidays to my calendar?
A: You can manually enter holidays or use online resources to find holiday lists and copy them into your calendar. Some calendar templates may already include common holidays.
Q: Can I create a shared calendar for a team?
A: Yes, you can share your Word document with others, allowing them to view and even edit the calendar. Consider using online collaboration tools like Google Docs for more seamless shared editing.
Q: How can I make my calendar more visually appealing?
A: Experiment with different fonts, colors, borders, shading, and image insertions. You can also explore adding icons or clip art to represent specific events or tasks.
Tips for Creating a 2026 Calendar in Word
- Plan Your Layout: Think about the layout and structure of your calendar before you begin. Consider how you want to organize the information and what visual elements will be most helpful.
- Use Consistent Formatting: Maintain consistency in fonts, colors, and spacing throughout your calendar for a professional and organized look.
- Keep it Simple: Avoid overcomplicating your calendar with too many features or elements. The goal is to create a functional and easy-to-use tool.
- Test and Revise: Create a draft version of your calendar and test it out before finalizing. This will allow you to identify areas for improvement and make necessary adjustments.
Conclusion
Creating a 2026 calendar in Microsoft Word offers a powerful and flexible solution for managing your year effectively. By utilizing the tools and techniques outlined in this guide, you can craft a personalized, visually appealing, and functional calendar that meets your specific needs. Remember to plan your layout, maintain consistency, keep it simple, and test your creation for optimal results. With a well-crafted calendar, you can stay organized, manage your time effectively, and achieve your goals throughout the year.


Closure
Thus, we hope this article has provided valuable insights into Crafting a 2026 Calendar in Microsoft Word: A Comprehensive Guide. We appreciate your attention to our article. See you in our next article!
- 0
- By admin